Table of Contents:
Embarking on a van life adventure or enjoying off-grid travels often confronts enthusiasts with the challenge of maintaining a reliable power supply. A Van Solar Panel Kit presents a sustainable solution, offering independence from traditional power sources. These kits, which include solar panels, a charge controller, batteries, and necessary wiring and hardware, are designed to harness solar energy to power various devices in your van. However, choosing the right kit involves navigating through options based on power needs, budget, and space limitations.
This comprehensive guide dives into the essentials of Van Solar Panel Kits, from understanding how they work, their price ranges, to tips on selecting and installing the perfect kit for your van. Highlighting the innovative solutions by POWEREUBLIC, this article also addresses frequently asked questions and provides insights on maintenance and the lifespan of these kits. Whether for casual trips or full-time van living, equipping your vehicle with a solar panel kit is a step towards sustainable and self-reliant travel.
What is a Van Solar Panel Kit?

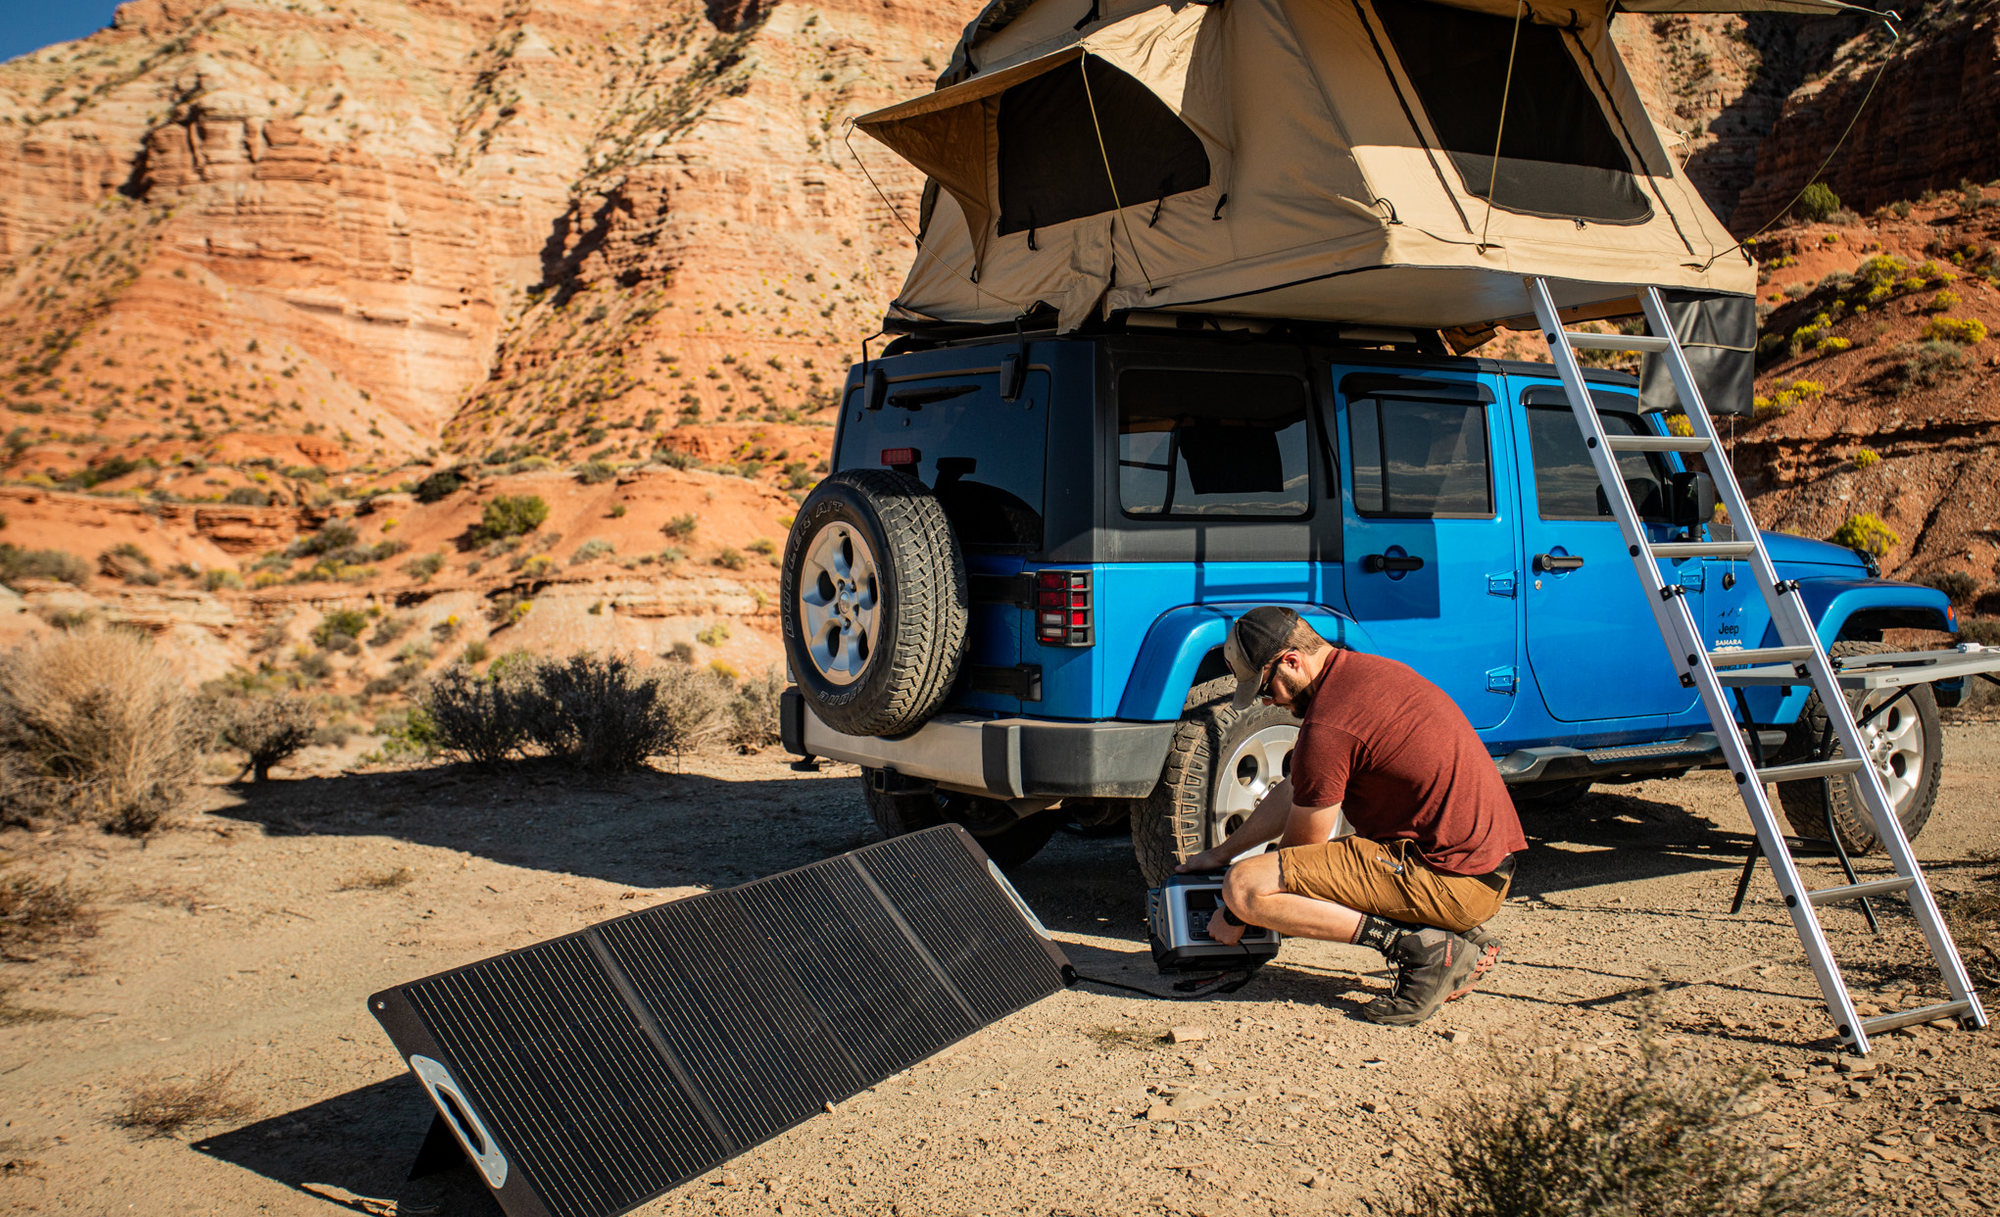
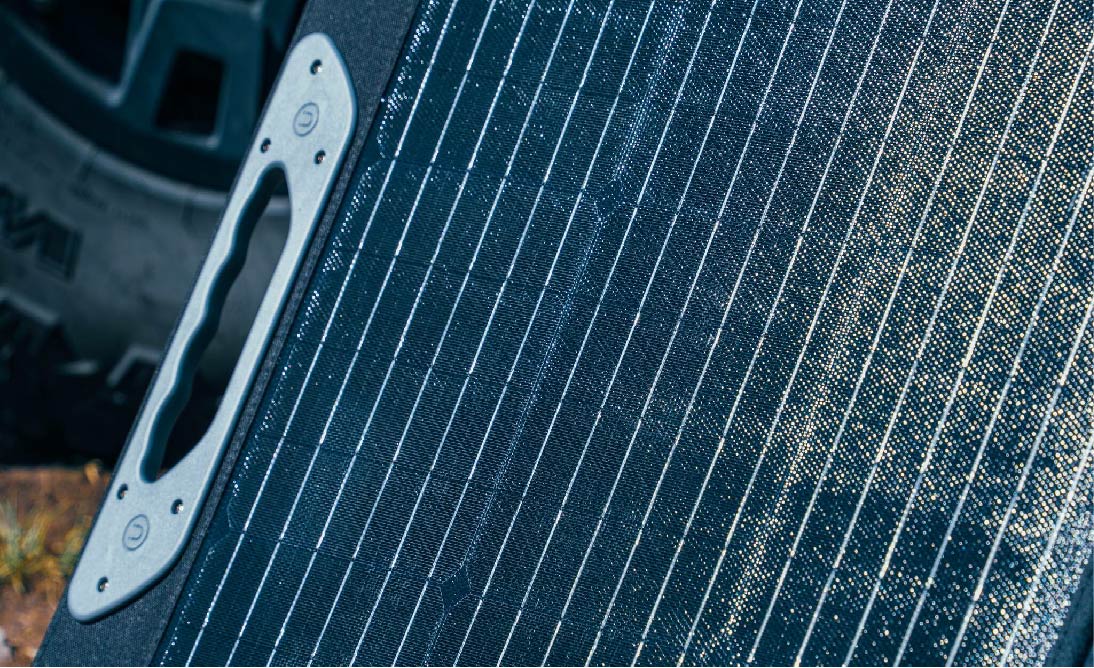
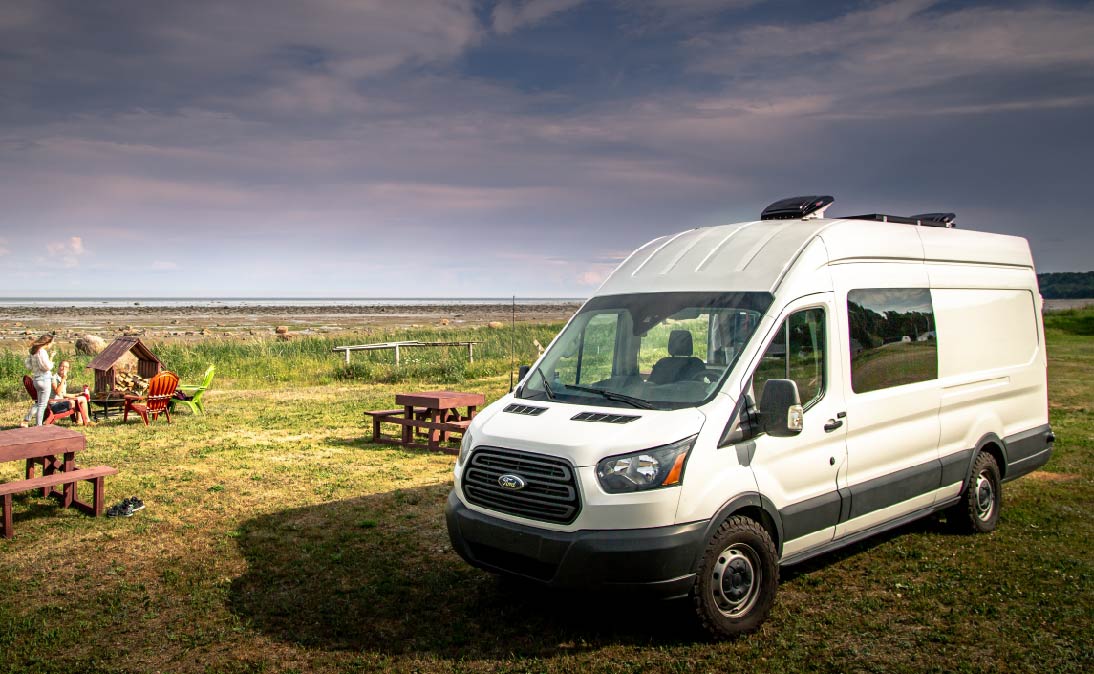
A van solar panel kit is a collection of components designed to provide solar power specifically for vans, particularly those used for camping, traveling, or living (often referred to as "van life"). These kits typically include solar panels, a charge controller, wiring, and sometimes additional accessories like inverters or batteries. The key elements and their functions are:
|
Component |
Function |
|
Solar Panels |
Absorb sunlight and convert it into direct current (DC) electricity through the photovoltaic effect. |
|
Charge Controller |
Regulates the voltage and current from the solar panels to the batteries, preventing overcharging. |
|
Batteries |
Store the electrical energy produced by the solar panels for use when there is no sunlight. |
|
Inverter |
Converts the stored DC electricity in the batteries into alternating current (AC) for use with standard appliances. |
|
Wiring and Connectors |
Connect all the components of the solar panel system together and to the van’s electrical system. |
|
Mounting Hardware |
Includes brackets and tools needed to securely attach the solar panels to the van’s roof. |
The purpose of a van solar panel kit is to provide a self-sufficient power source, allowing van dwellers to use electrical appliances off-grid without the need for external power sources. This is particularly appealing for those who travel or live in their vans, as it offers a degree of independence and sustainability. These kits are designed to be relatively easy to install and use, making them a popular choice for people engaging in the van life lifestyle or those who frequently embark on road trips and outdoor adventures.
How Does a Van Solar Panel Kit Work?

A van solar panel kit works by harnessing energy from the sun and converting it into electricity to power various devices and appliances in the van. Here's a step-by-step breakdown of how it functions:
|
Step |
Description |
|
1. Absorption of Sunlight |
Solar panels on the van's roof absorbs sunlight. Photovoltaic cells in the panels convert sunlight into direct current (DC) electricity. |
|
2. Conversion to Usable Electricity |
The DC electricity from the solar panels is sent to the charge controller. |
|
3. Regulation of Power to Batteries |
The charge controller regulates the voltage and current from the solar panels to the batteries, ensuring efficient and safe charging, and preventing overcharging. |
|
4. Battery Storage |
The batteries store the electrical energy produced by the solar panels for use when the sun is not shining. |
|
5. Conversion of DC to AC |
An inverter converts the DC electricity stored in the batteries into alternating current (AC), the form required by most appliances and devices. |
|
6. Power Distribution |
The converted AC electricity is used to power devices and appliances in the van, either through the van’s existing electrical system or dedicated outlets. |
|
7. Energy Management |
Users monitor and manage their energy consumption, balancing the power generated and stored with their usage needs, especially important for off-grid living. |
This table provides a clear step-by-step understanding of the process by which a van solar panel kit harnesses solar energy and makes it usable for various applications within the van.
Price Range of a Van Solar Panel Kit

The budget for a van solar panel kit can vary widely based on several factors including the quality of components, the size of the system (in terms of power output), additional features, and whether you plan to install it yourself or hire a professional. Here's a rough breakdown of costs for a basic to mid-range system:
1. Solar Panels
-
Cost: Prices can range from $100 to $300 or more per panel, depending on wattage and quality.
-
Example: For a basic setup, 2-4 panels might be sufficient, leading to a cost of $200 to $1,200.
2. Charge Controller
-
Cost: Between $20 for a basic model to $200 or more for a high-quality MPPT (Maximum Power Point Tracking) controller.
-
Example: A decent MPPT controller might cost around $100-$150.
3. Batteries
-
Cost: Lead-acid batteries may cost $100-$200 each, while lithium-ion batteries can range from $500 to $1,000 or more.
-
Example: One or two quality batteries could cost between $200 and $2,000.
4. Inverter
-
Cost: A reliable inverter can cost from $100 to $500, depending on the wattage and features.
-
Example: A 1000W inverter might cost around $200.
5. Mounting Hardware and Wiring
-
Cost: Expect to spend $50 to $150 on mounting brackets, wiring, and connectors.
-
Example: A basic mounting and wiring kit might cost about $100.
6. Installation Costs
-
DIY Installation: Free, but requires your time and effort.
-
Professional Installation: Can range from $500 to $2,000 or more, depending on the complexity of the setup.
7. Additional Components
-
Cost: Additional items like a battery monitor, fuses, and safety disconnects can add $100 to $300 to the total cost.
Total Estimated Budget
-
Basic Setup: $550 - $1,750 (DIY installation)
-
Mid-Range Setup: $1,200 - $4,250 (including professional installation)
Other Things to Consider
-
Quality vs. Price: Higher quality components are more expensive but can offer better efficiency, longevity, and warranties.
-
Future Expansion: If you plan to expand your system later, it might be worth investing in higher-capacity components now.
-
Usage Needs: Tailor your system based on your specific power needs. More appliances or gadgets will require a larger, more expensive setup.
Remember, these are estimated costs and can vary based on location, the specific products chosen, and market fluctuations. It's always a good idea to get multiple quotes and read reviews before making purchases.
How To Select The Best Van Solar Panel Kit?

Selecting the best van solar panel kit involves considering several factors, including power requirements, budget, space available for panel installation, and the type of equipment you plan to use. Here's a guide to help you make an informed decision, including calculations and examples.
1. Determine Your Power Requirements
Calculate Daily Energy Consumption: List all the electrical devices you plan to use in the van (e.g., lights, fridge, fan, laptop, etc.) and calculate their total daily energy consumption. This is usually measured in watt-hours (Wh) or kilowatt-hours (kWh).
Example:
-
LED Light (10W) x 5 hours = 50Wh
-
Fridge (50W) x 24 hours = 1200Wh
-
Laptop (60W) x 4 hours = 240Wh
-
Total daily consumption = 50Wh + 1200Wh + 240Wh = 1490Wh or 1.49kWh
Consider Extra Capacity: It's a good idea to add a buffer (around 20-25%) to your total to account for inefficiencies and unexpected usage.
Example: Total consumption with buffer = 1.49kWh x 1.25 = 1.8625kWh
2. Assess Solar Panel Output
Estimate Solar Panel Output: The output of solar panels is measured in watts (W). The actual output depends on several factors, including the efficiency of the panels, the amount of sunlight received, and the length of sunlight hours.
Example: If you're in an area with an average of 5 hours of good sunlight per day, and you're considering 100W panels, the daily output for one panel would be 100W x 5 hours = 500Wh or 0.5kWh.
3. Calculate the Number of Solar Panels Needed
Divide Your Daily Energy Requirement by the Estimated Output per Panel.
Example:
Required panels = Total consumption with buffer / Output per panel
Required panels = 1.8625kWh / 0.5kWh = 3.725
Round up to the nearest whole number: You need 4 panels.
4. Consider Battery Storage
Battery Capacity: Your battery should store enough energy to cover your needs, especially during periods with less sunlight. Calculate the battery capacity needed in ampere-hours (Ah) or kilowatt-hours (kWh).
Example:
If using a 12V system, battery capacity in Ah = Total daily consumption (in Wh) / 12V
Battery capacity = 1862.5Wh / 12V = 155.21Ah
Round up for safety: 160Ah battery recommended.
5. Select Charge Controller
Choose a Charge Controller: The charge controller should match the voltage of your solar panels and batteries and be able to handle the current from your panels.
Example:
If you have 4 x 100W panels at 12V, the total current = (4 x 100W) / 12V = 33.33A
Choose a charge controller that can handle at least 35A.
6. Consider Space and Weight
-
Assess the space available on your van’s roof for the panels and consider the weight of the system, ensuring it’s within the van’s capacity.
7. Evaluate Quality and Warranty
-
Look for durable panels with a good warranty period. Higher-efficiency panels are more expensive but may be necessary if space is limited.
8. Budget
-
Balance your needs with your budget. Higher quality systems with more features may cost more.
Choosing the best van solar panel kit requires careful consideration of your energy needs, the capabilities of the solar panels, battery storage requirements, and the physical constraints of your van. Always round up your calculations to ensure you have enough capacity, and consider professional advice if needed.
How To Install a Van Solar Panel Kit?

Installing a van solar panel kit can be a rewarding DIY project. It involves several steps, from planning the layout to wiring and testing the system. Here's a basic guide to help you through the process. Please note, that if you're not confident in your electrical skills, it's best to consult or hire a professional.
1. Plan Your Layout
-
Assess Your Roof Space: Measure the available space on your van’s roof to determine how many panels you can fit.
-
Decide Panel Placement: Consider factors like potential shading, the direction of travel, and aerodynamics.
2. Gather Tools and Materials
You will need:
-
Solar panels
-
Charge controller
-
Batteries
-
Inverter (if you want to use AC appliances)
-
Wiring and connectors
-
Mounting brackets and hardware
-
Tools (drill, screwdrivers, wrenches, wire cutters, etc.)
3. Install Mounting Brackets
-
Mark Locations: Decide where each bracket will go.
-
Drill Holes: Carefully drill holes for the brackets. Make sure to seal any holes to prevent leaks.
-
Attach Brackets: Secure the brackets to the roof using screws and sealant.
4. Mount the Solar Panels
-
Mount the solar panels onto the support brackets.
-
Secure the panels to the brackets according to the manufacturer’s instructions.
5. Charge Controller Installing
-
The charge controller should be placed in a convenient location inside the van.
-
Ensure it is close to the batteries but in a well-ventilated area to avoid overheating.
6. Wiring
-
Connect Panels to Charge Controller: Run wiring from the solar panels to the charge controller.
-
Connect Charge Controller to Batteries: Wire the charge controller to the batteries.
-
Ground Your System: Ensure the entire system is properly grounded.
7. Install the Inverter (if needed)
-
Connect the inverter to the batteries if you plan to use AC appliances.
-
Ensure the inverter is in a ventilated space and easily accessible.
8. Connect Batteries
-
Wire your batteries in parallel (to increase amp hours) or in series (to increase voltage), depending on your system requirements.
-
Ensure connections are secure.
9. Test the System
-
Once everything is connected, test the system to ensure it’s working correctly.
-
Check the charge controller display to see if it’s charging and monitor it for a few days to ensure it's working as expected.
10. Secure and Protect Wiring
-
Use cable ties or conduits to secure the wiring.
-
Protect the wiring from weather and potential damage.
Safety Precautions
-
Always follow the manufacturer's instructions.
-
Use appropriate safety gear, especially when working on the roof.
-
Be cautious with electrical connections to prevent short circuits or shocks.
-
If in doubt, consult with a professional.
Installing a van solar panel kit requires careful planning, attention to detail, and basic knowledge of electrical systems. It's a great way to ensure energy independence on the road, but safety and correct installation are paramount.
POWEREUBLIC Van Solar Panel Kits

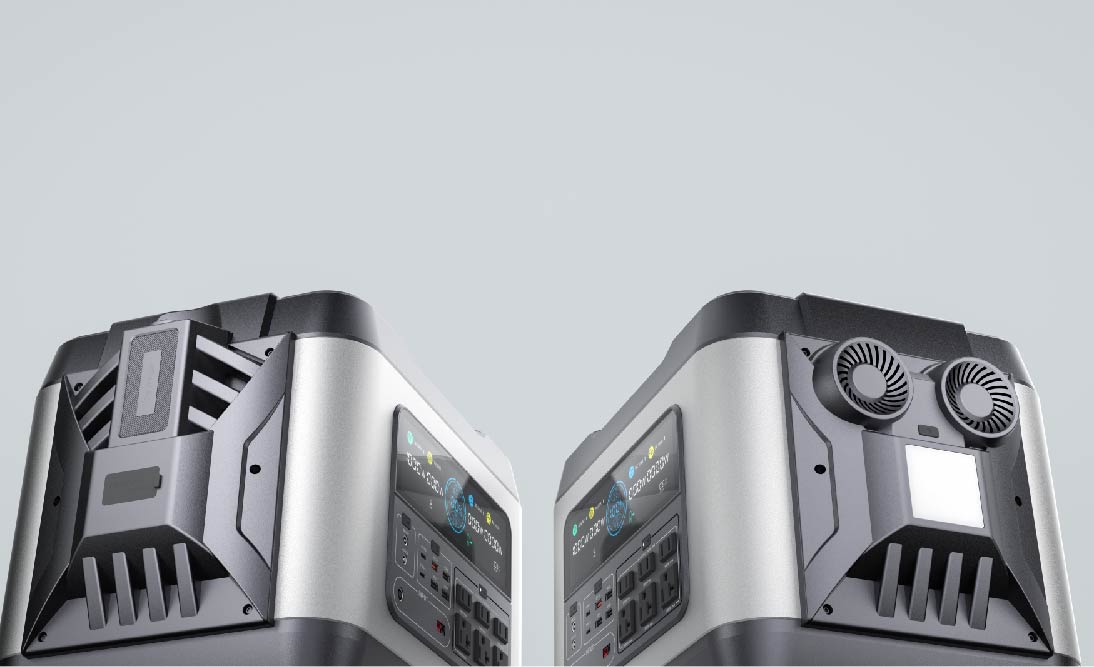
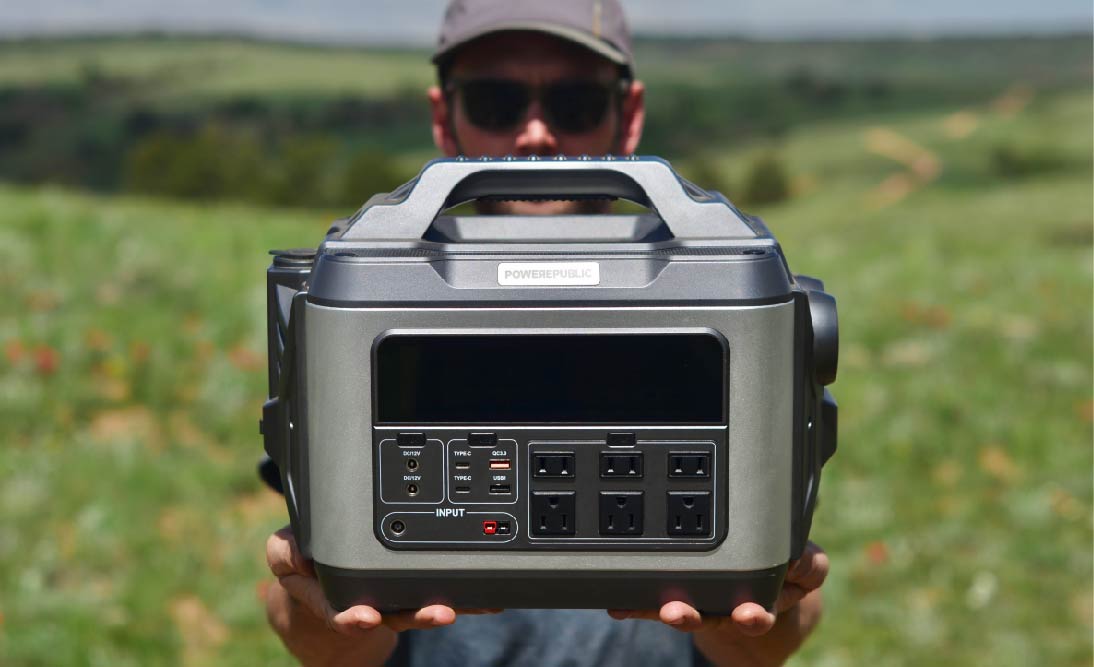
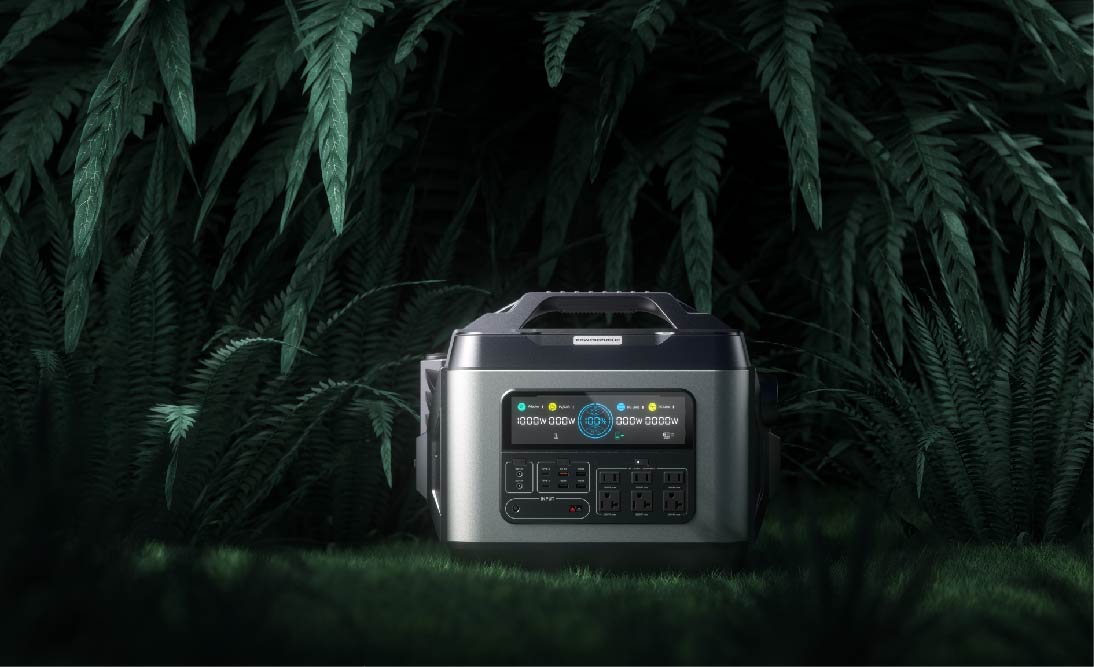
As mentioned earlier, setting up a van solar panel kit may require professional knowledge and time, which can be inconvenient for new campers. POWEREPUBLIC offers four different solar generator kits that can also be used as van solar panel kits. Let's take a closer look at each of them to help you better understand your options.
|
Model |
Specs |
Est.Duration(h) |
|
300W/296Wh, Surge 600W 10 Output Ports Less than 10 Pounds Lithium-ion Batteries |
TV (60W) - 4 hours Mini Fridge (70W) - 3.5 hours LED Lights (10W) - 25 hours Laptop (50W) - 5 hours Portable Fan (20W) - 12.5 hours Smartphone Charger (5W) - 50 hours Electric Kettle (1000W) - Not Applicable Microwave Oven (800W) - Not Applicable Water Pump (60W) - 4 hours Portable Heater (1500W) - Not Applicable |
|
|
T1200+PV100 and T1200+PV200 Solar Generator Kits |
1200W/1110Wh, Surge 2600W 13 Output Ports Lithium-ion Batteries |
TV (60W) - 15.5 hours Mini Fridge (70W) - 13.5 hours LED Lights (10W) - 94 hours Laptop (50W) - 18.5 hours Portable Fan (20W) - 47 hours Smartphone Charger (5W) - 188 hours Electric Kettle (1000W) - 1 hour Microwave Oven (800W) - 1 hour Water Pump (60W) - 15.5 hours Portable Heater (1500W) - Not Applicable |
|
2200W/2240Wh, Surge 4500W 15 Output Ports LiFePO4 Batteries |
TV (60W) - 31.5 hours Mini Fridge (70W) - 27 hours LED Lights (10W) - 190 hours Laptop (50W) - 38 hours Portable Fan (20W) - 95 hours Smartphone Charger (5W) - 380 hours Electric Kettle (1000W) - 2 hours Microwave Oven (800W) - 2.3 hours Water Pump (60W) - 31.5 hours Portable Heater (1500W) - 1.2 hours |
|
|
3000W/3200Wh, Surge 6000W 15 Output Ports LiFePO4 Batteries |
TV (60W) - 45 hours Mini Fridge (70W) - 38.5 hours LED Lights (10W) - 272 hours Laptop (50W) - 54.5 hours Portable Fan (20W) - 136 hours Smartphone Charger (5W) - 544 hours Electric Kettle (1000W) - 2.5 hours Microwave Oven (800W) - 3.5 hours Water Pump (60W) - 45 hours Portable Heater (1500W) - 1.8 hours |
Note that:
-
Est. Duration = Capacity(Wh)*0.85/Power of the devices and appliances.
FAQ I: How To Take Good Care of My Van Solar Panel Kit?

Taking good care of your van solar panel kit is crucial for ensuring its longevity and efficiency. Here are some tips:
-
Regular Cleaning: Dust, dirt, and bird droppings can reduce the efficiency of solar panels. Clean them regularly with a soft cloth or sponge and mild detergent. Avoid using abrasive materials or harsh chemicals.
-
Inspect for Damage: Regularly check for any cracks, chips, or other signs of damage. Even small damages can affect the performance of the solar panels.
-
Proper Wiring: Ensure that all connections and wiring are secure and free from corrosion. Loose connections can lead to inefficiency or even hazards.
-
Shade Management: Solar panels work best when they're not in the shade. Regularly check and trim any trees or structures that might cast shadows on your panels.
-
Battery Maintenance: If your kit includes a battery, ensure it's properly maintained. This includes checking the electrolyte levels and ensuring the battery is charged but not overcharged.
-
Monitoring System Performance: Regularly check the system's performance to ensure it's operating at optimal levels. Any sudden drop in performance might indicate a problem.
-
Professional Checkups: Have a professional inspect and service your solar panel system annually. They can spot issues that you might miss.
FAQ II: What’s the Lifespan Of a Van Solar Panel Kit?

The lifespan of a van solar panel kit typically ranges between 25 to 30 years. However, this can vary based on factors like the quality of the panels, maintenance, and environmental conditions. Here's an example with calculations:
-
Initial Efficiency: Let's assume your solar panel kit operates at 100% efficiency when new.
-
Degradation Rate: Solar panels usually degrade at a rate of about 0.5% to 1% per year. If we take a conservative degradation rate of 0.8% per year, after 25 years, the efficiency of your solar panels would be: 100%−(25×0.8%)=100%−20%=80%. So, after 25 years, the panels would operate at 80% of their original efficiency.
-
Maintenance Factor: With good maintenance, you can slow down the degradation rate. Panels in harsh environments (like extreme temperatures or salt water exposure) might degrade faster.
-
Component Lifespan: Other components of the kit, like the inverter and batteries, usually have shorter lifespans (around 5-15 years) and may need to be replaced during the life of the solar panels.
While the panels themselves can last up to 30 years, maintaining them well and replacing other components as needed will ensure the entire kit functions efficiently for as long as possible.
Final Thoughts
In conclusion, a van solar panel kit is an essential investment for those embracing the van life lifestyle or frequently undertaking outdoor adventures. These kits provide a self-sufficient and sustainable power source, allowing for the use of various electrical appliances off-grid. The versatility and efficiency of these kits are evident in the range of models offered by companies like POWEREUBLIC, which cater to different power needs and preferences.
From compact models suitable for basic lighting and charging to more robust systems capable of powering larger appliances, there's a solution for every need. The key to maximizing the benefits of a van solar panel kit lies in selecting the right kit based on your specific power requirements, installing it correctly, and maintaining it well to ensure efficiency. By harnessing solar energy, these kits not only offer convenience and independence but also contribute to a more sustainable and eco-friendly way of living and traveling.
